For Zendesk to send emails on behalf of your domain, SPF and DKIM must be correctly configured. This is essential to ensure that emails are actually delivered and appear professional to recipients. Here we show you what needs to be done and why it matters.
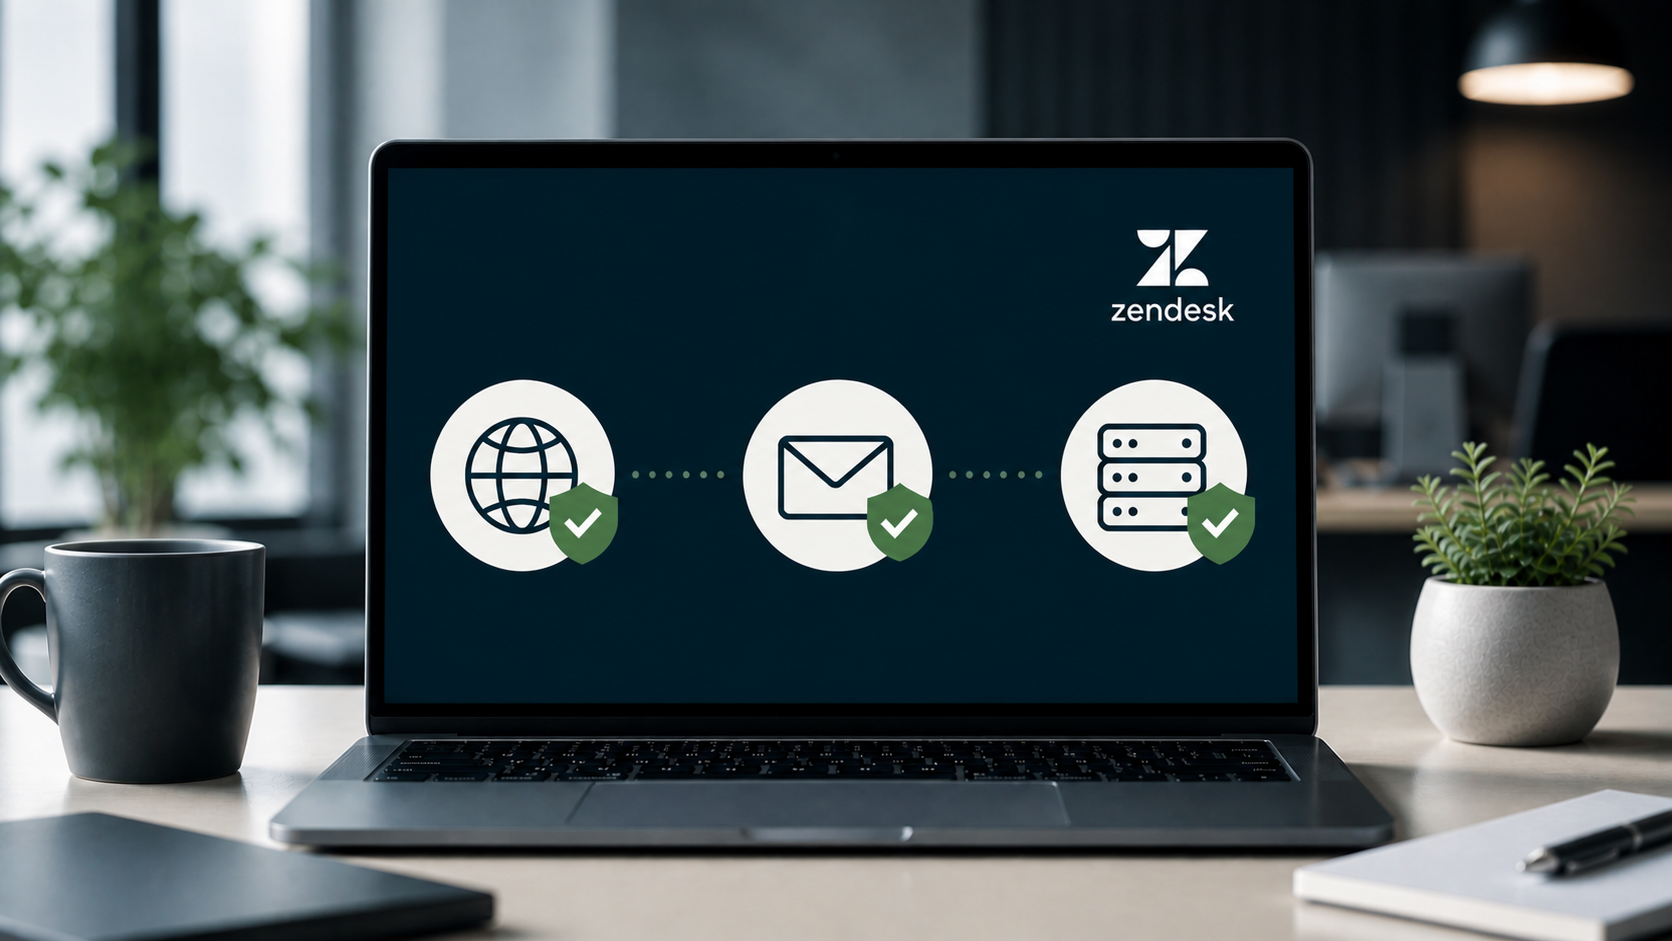
Why SPF and DKIM are important
When SPF and DKIM are properly configured, you ensure that emails from Zendesk:
-
reduce the risk of being marked as spam
-
are not rejected by the recipient’s server
-
appear as sent from your domain (not “via Zendesk”)
This results in better deliverability, fewer issues, and a cleaner experience for recipients.
What are SPF and DKIM?
SPF and DKIM are two mechanisms that verify that Zendesk is authorized to send email on behalf of your domain.
-
SPF (Sender Policy Framework) specifies which servers are allowed to send email from your domain
-
DKIM (DomainKeys Identified Mail) adds a digital signature that confirms the email is authentic and has not been altered
Both are configured in DNS, where your domain is managed.
Who needs to do this?
The setup itself is simple but must be performed by someone with access to your domain’s DNS.
This is typically:
-
an internal IT resource
-
an operations partner
-
or a provider such as Domeneshop, Cloudflare, Microsoft, or GoDaddy
How to set up SPF
New SPF-record
If you do not already have an SPF record, add the following:
| Field | Value |
| Type | TXT |
| Host/Name | @ |
| Value | v=spf1 include:mail.zendesk.com ?all |
Existing SPF record
If you already have an SPF record, do not create a new one. Instead, add: include:mail.zendesk.com
Example: v=spf1 include:spf.protection.outlook.com include:mail.zendesk.com ?all
Important: There must only be one SPF record per domain.
How to set up DKIM
In addition to SPF, you must also configure DKIM. This is done by adding two CNAME records:
Record 1:
| Field | Value |
| Type | CNAME |
| Host/Name | zendesk1._domainkey.yourdomain.com |
| Target | zendesk1._domainkey.zendesk.com |
Record 2:
| Field | Value |
| Type | CNAME |
| Host/Name | zendesk2._domainkey.yourdomain.com |
| Target | zendesk2._domainkey.zendesk.com |
Replace yourdomain.com with your actual domain.
Important considerations
Some DNS providers automatically append the domain at the end of the host/name field.
In those cases, it is sufficient to enter:
-
zendesk1._domainkey
-
zendesk2._domainkey
What applies depends on your DNS provider.
When is the setup complete, and what value does it provide?
After making these changes, it may take some time before they take effect. It often happens quickly, but in some cases it can take up to 24 hours before everything is updated and can be verified in Zendesk.
This is a small technical task that delivers significant value in practice: better email deliverability, fewer issues with spam and rejections, and a more professional sender identity. Once it is set up correctly, you also avoid a lot of unnecessary troubleshooting later.
Unsure if everything is set up correctly? Contact us for help.